Earlwood Farmlands I
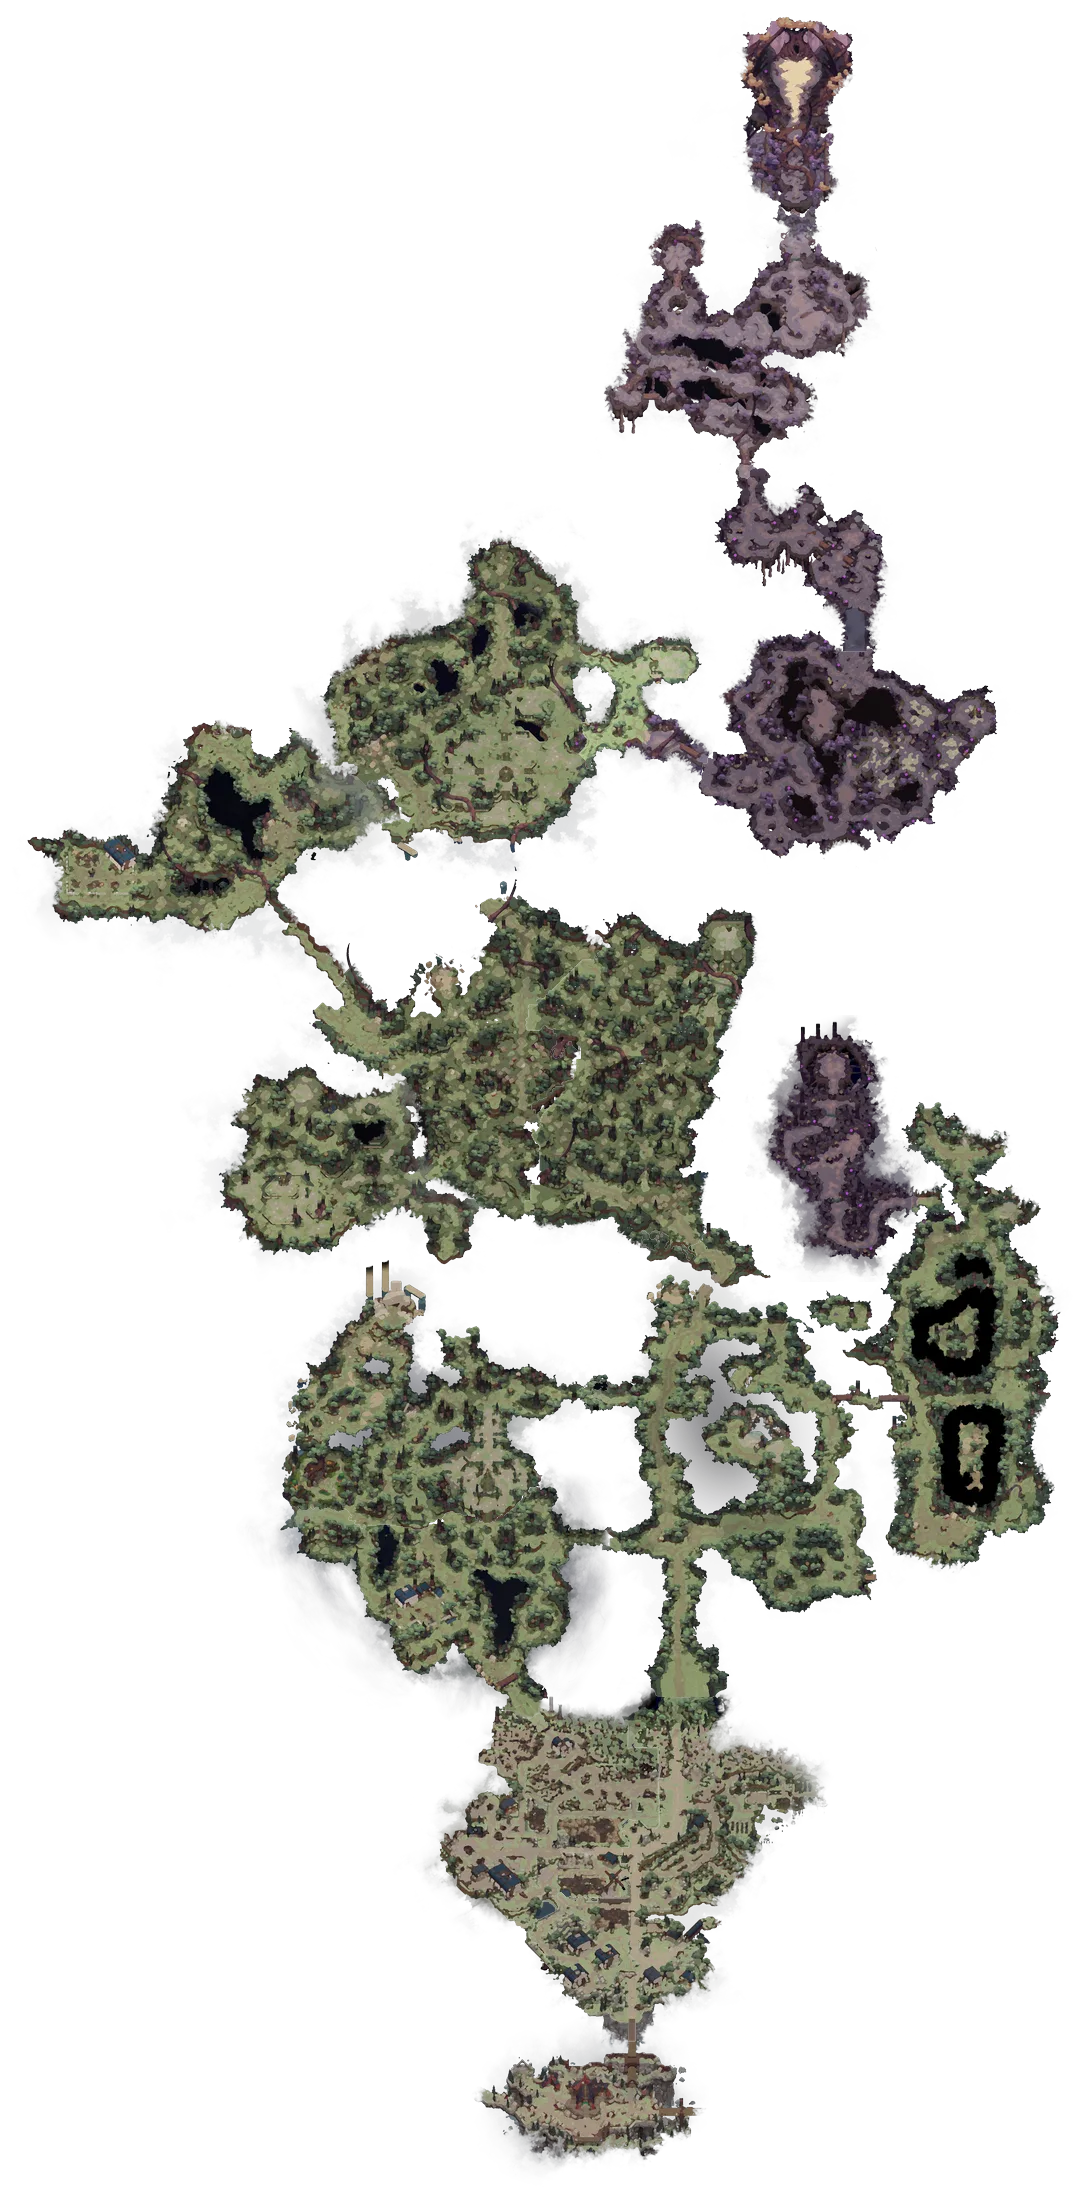
Earlwood Farmlands I est une zone de Earlwood, numéro 4 sur 22 dans l'ordre de la carte du jeu.
Les créatures qui se tiennent toujours ici sont niveau 1 à 4.
Les créatures d'événement ici sont niveau 1 à 12.
Sur la carte
299 marqueurs sur la carte Earlwood.
Boss
- Monstrous Droop niveau 7, créé par
 Droop King Bounty,
  Heavy Rain Afficher sur la carte
 - Smashmouth niveau 4, créé par
 First Probe, Smashmouth Bounty Afficher sur la carte
Créatures
| Créature | Niveau | Toujours là | Pendant les événements | Événements |
|---|---|---|---|---|
 Goblin Ripper Goblin Ripper | 2 | 18 | 37 | 13 |
| Rageborn Ripper jamais amélioré | 12 | 37 | 15 | |
| Drooplet | 1 | 32 | 3 | 1 |
 Goblin Flaskrat Goblin Flaskrat | 3 | 13 | 15 | 10 |
| Droop | 1 | 20 | 4 | 1 |
| Rageborn Flaskrat jamais amélioré | 11 | 18 | 12 | |
| Goblin Ripper Empowered | 2 | 4 | 12 | 5 |
| Goblin Basher | 4 | 2 | 6 | 4 |
| Goblin Flaskrat Empowered | 3 | 8 | 5 | |
 Rabbit Rabbit | 1 | 6 | ||
| Deer | 1 | 4 | ||
| Rageborn Flaskrat peut être amélioré | 11 | 3 | 2 | |
| Rageborn Ripper peut être amélioré | 12 | 3 | 2 | |
 Droop Spitter Droop Spitter | 1 | 2 | 1 |
Événements
Un événement fait apparaître ses créatures, coffres et nœuds seulement pendant qu'il fonctionne. Une étape de quête, un tirage aléatoire dans un spot d'événement ou l'entrée dans un spot de passage le déclenche.
- Blind Revenge: Goblin Basher x2, Goblin Flaskrat x2, Goblin Ripper x2, Rageborn Flaskrat x2, Rageborn Ripper x2
- Blind Revenge: Goblin Basher x2, Goblin Flaskrat x2, Goblin Ripper x2, Rageborn Flaskrat x2, Rageborn Ripper x2
 Bread for Steel: Goblin Ripper x3, Goblin Flaskrat x2, Rageborn Flaskrat x1, Rageborn Ripper x1; 5 nœuds de ressource
- Événement 4 sur 29 (événement aléatoire): Goblin Ripper x4
- Événement 5 sur 29 (événement aléatoire): Goblin Ripper x4
- Événement 6 sur 29 (événement aléatoire): Goblin Ripper x3
- Événement 7 sur 29 (événement aléatoire): Rageborn Ripper x3, Rageborn Flaskrat x1
- Événement 8 sur 29 (événement aléatoire): Rageborn Ripper x3, Rageborn Flaskrat x1
- Événement 9 sur 29 (événement aléatoire): Rageborn Ripper x3, Rageborn Flaskrat x1
- First Probe: Goblin Flaskrat Empowered x2, Goblin Ripper Empowered x2, Goblin Basher x1, Rageborn Flaskrat x1, Rageborn Ripper x1
- First Probe: Goblin Flaskrat Empowered x2, Goblin Ripper Empowered x2, Rageborn Ripper x2
- First Probe: Goblin Ripper Empowered x2, Rageborn Flaskrat x2, Goblin Flaskrat Empowered x1, Rageborn Ripper x1
- First Probe: Goblin Flaskrat Empowered x2, Goblin Ripper Empowered x2, Rageborn Ripper x2, Rageborn Flaskrat x1
- First Probe, Smashmouth Bounty: Goblin Flaskrat x2, Goblin Ripper x2, Smashmouth x1
- Heavy Rain: Droop x4, Drooplet x3, Droop Spitter x2
- Droop King Bounty, Heavy Rain: Monstrous Droop x1
- Juicy Ambush: Goblin Ripper x3, Goblin Flaskrat x2
- Kindness Ledger: 1 service
- Kindness Ledger: Rageborn Ripper x2, Rageborn Ripper x2
- Kindness Ledger: Rageborn Flaskrat x2, Rageborn Ripper x2
- Kindness Ledger: Rageborn Ripper x3, Rageborn Flaskrat x1, Rageborn Flaskrat x1, Rageborn Ripper x1
- Lines You Draw: 1 service
- Mealy Detour: Rageborn Ripper x3, Rageborn Flaskrat x2, Goblin Basher x1
- Measure Twice: Rageborn Ripper x7, Rageborn Flaskrat x3
- Phantom Wounds: Goblin Ripper x3, Goblin Flaskrat x1
- Blinding fear: Goblin Ripper x3, Goblin Flaskrat x1
- Memories of Dust: Goblin Ripper x3, Goblin Flaskrat x1
- The Hopeful Shepherd: Goblin Ripper x3, Goblin Flaskrat x1
- Yard and Code: Goblin Ripper Empowered x4, Goblin Ripper x2, Goblin Flaskrat x1, Goblin Flaskrat Empowered x1
Emplacements d'événement
Entrez dans un spot et le jeu choisit un événement de sa liste. Tant que vous y restez, il réessaie tous les 15 secondes. Un événement choisi ne peut commencer que si ses conditions sont remplies.
Emplacement 1
- Événement 4 sur 29 (événement aléatoire): 20% quand tous les choix sont ouverts, jusqu'à 25% nécessite The Time Tardy Scout
- Événement 5 sur 29 (événement aléatoire): 20% quand tous les choix sont ouverts, jusqu'à 25% nécessite The Time Tardy Scout
- Aucun événement: 60% quand tous les choix sont ouverts, jusqu'à 100%
Attend 30 minutes après un événement. Il partage cette attente avec 1 autre emplacement.
Emplacement 2
- Événement 6 sur 29 (événement aléatoire): 20% nécessite The Time Tardy Scout
- Aucun événement: 80% quand tous les choix sont ouverts, jusqu'à 100%
Attend 30 minutes après un événement. Il partage cette attente avec 1 autre emplacement.
Emplacement 3
- Événement 7 sur 29 (événement aléatoire): 20% quand tous les choix sont ouverts, jusqu'à 33.3% nécessite Hoard King's Fall
- Événement 8 sur 29 (événement aléatoire): 20% quand tous les choix sont ouverts, jusqu'à 33.3% nécessite Hoard King's Fall
- Événement 9 sur 29 (événement aléatoire): 20% quand tous les choix sont ouverts, jusqu'à 33.3% nécessite Hoard King's Fall
- Aucun événement: 40% quand tous les choix sont ouverts, jusqu'à 100%
Attend 30 minutes après un événement. Il partage cette attente avec 1 autre emplacement.
Emplacement 4
- Juicy Ambush: 10% quand tous les choix sont ouverts, jusqu'à 33.3% nécessite The Time Tardy Scout
- Mealy Detour: 10% quand tous les choix sont ouverts, jusqu'à 33.3% nécessite The Broken Bridge
- Un événement sans créatures (événement aléatoire): 30% quand tous les choix sont ouverts, jusqu'à 60% nécessite The Time Tardy Scout; uniquement une fois que le jeu définit 1 drapeau
- Heavy Rain: 30% quand tous les choix sont ouverts, jusqu'à 60% nécessite The Corrupted Beast; uniquement une fois que le jeu définit 1 drapeau
- Aucun événement: 20% quand tous les choix sont ouverts, jusqu'à 100%
Attend 30 minutes après un événement.
Emplacement 5
- Un événement sans créatures (événement aléatoire): 10% quand tous les choix sont ouverts, jusqu'à 25% nécessite The Time Tardy Scout; uniquement une fois que le jeu définit 1 drapeau
- Un événement sans créatures (événement aléatoire): 10% quand tous les choix sont ouverts, jusqu'à 25% nécessite The Time Tardy Scout; uniquement une fois que le jeu définit 1 drapeau
- Un événement sans créatures (événement aléatoire): 10% quand tous les choix sont ouverts, jusqu'à 25% nécessite The Time Tardy Scout; uniquement une fois que le jeu définit 1 drapeau
- Blind Revenge: 20% quand tous les choix sont ouverts, jusqu'à 40% nécessite Hoard King's Fall
- Blind Revenge: 20% quand tous les choix sont ouverts, jusqu'à 40% nécessite Hoard King's Fall
- Aucun événement: 30% quand tous les choix sont ouverts, jusqu'à 100%
Attend 30 minutes après un événement. Il partage cette attente avec 1 autre emplacement.
Zones d'entrée
Entrer dans l'une de ces zones lance son événement.
Chiffres
Quêtes ici
- The Hopeful Shepherd Côté
- Assault the Mill Exploit
- Brutal Bashers Exploit
- Clearing Out the Yard Exploit
- Cull the Camp Exploit
- Droop King Bounty Exploit
- Food Scraps Request Exploit
- King Path Patrol Exploit
- Road Patrol Exploit
- Scout the Perimeter Exploit
- Smashmouth Bounty Exploit
- Thinning Out the Fields Exploit
- Blind Revenge Événement
- Blind Revenge Événement
- Blinding fear Événement
- Dangerous Toy Événement
- Goblin Academic I Événement
- Goblins' Fireworks Ceremony Événement
- Heavy Rain Événement
- Juicy Ambush Événement
- Mealy Detour Événement
- Memories of Dust Événement
- Phantom Wounds Événement
- Toxic Rivalry Événement
Services
Campfires
 Campfire repos 2 heures Afficher sur la carte
Boutiques
 Scavenger Guard Shop pendant un événement Afficher sur la carte
 Boutique suspecte pendant un événement Afficher sur la carte
Exploits ici
- Assault the Mill: tuer 8 Goblin Ripper dans sa zone; tuer 6 Goblin Flaskrat dans sa zone
- Cull the Camp: tuer 5 Goblin Ripper dans sa zone; tuer 5 Goblin Flaskrat dans sa zone
- Droop King Bounty: Monstrous Droop x1
- Prime Smashmouth: Goblin Flaskrat x2, Goblin Ripper x2, Smashmouth x1
- Thinning Out the Fields: tuer 6 Goblin Ripper dans sa zone; tuer 4 Goblin Flaskrat dans sa zone
- Brutal Bashers: tuer 2 Goblin Basher dans sa zone
- Clearing Out the Yard: tuer 5 Goblin Ripper dans sa zone; tuer 5 Goblin Flaskrat dans sa zone
Lieux
Portails de voyage
- Farmlands North Afficher sur la carte
- Farmlands South Afficher sur la carte
Points d'intérêt
- Earlwood Farmlands Roadside Camp Afficher sur la carte
Choses à trouver
 Spellbook Conflagration
Coffres
- Earlwood Farmlands I corps 1 1 endroit
- Earlwood Farmlands I corps 2 1 endroit
- Earlwood Farmlands I coffre 1 1 endroit
- Earlwood Farmlands I coffre 2 1 endroit
- Earlwood Farmlands I coffre 3 1 endroit
- Earlwood Farmlands I souche d'arbre 1 endroit
- Earlwood Farmlands I corps 3 1 endroit
Ressources
| Nœud | Donne | Nœuds |
|---|---|---|
| Woodland Flax aucun outil nécessaire, revient après 25 minutes |  Brush Flax x1 Brush Flax x120% de chance d'obtenir  Flax Seed x1 Flax Seed x1 | 12 |
| Apple aucun outil nécessaire, revient après 25 minutes |  Apple x1 Apple x120% de chance d'obtenir  Apple Seed x1 Apple Seed x1 | 11 (5 dans les événements) |
| Pinewood Branch aucun outil nécessaire, revient après 25 minutes |  Wildwood Pine x1 Wildwood Pine x1 | 5 |
| Loose Stone aucun outil nécessaire, revient après 25 minutes |  Stone x1 Stone x1 | 4 |
Zones à proximité
- Avant Earlwood Village
- Après Earlwood Farmlands II
Autres zones de Earlwood :
Earlwood Village, Earlwood Farmlands II, Wildwood Forest I, Wildwood Forest IIA, Wildwood Forest IIB, Wildwood Forest III, Corrupted Thicket, Wildwood Forest IVa, Wildwood Forest IVb, Wildwood Forest IVc, Wildwood Forest IVd, Wildwood Forest IVe, Wildwood Forest Va, Wildwood Forest Vb, Wildwood Forest Vc, Wildwood Forest Vd, The Forest Throne