Dimraeth All Bosses No Hit [ Hard mode - Melee Only - No items - Tier 3 ]
 Watch on YouTube
Opens the video on YouTube. Nothing loads from YouTube until you click.
This page sums up Dimraeth All Bosses No Hit [ Hard mode - Melee Only - No items - Tier 3 ] by Mr.S. Each line links to the moment in the video it comes from.
What the video covers
- Mr.S fights eleven bosses back to back, with no voice-over. In every fight this guide checked, the quest list shows a level III bounty. The build shows up at the very end. 0:08
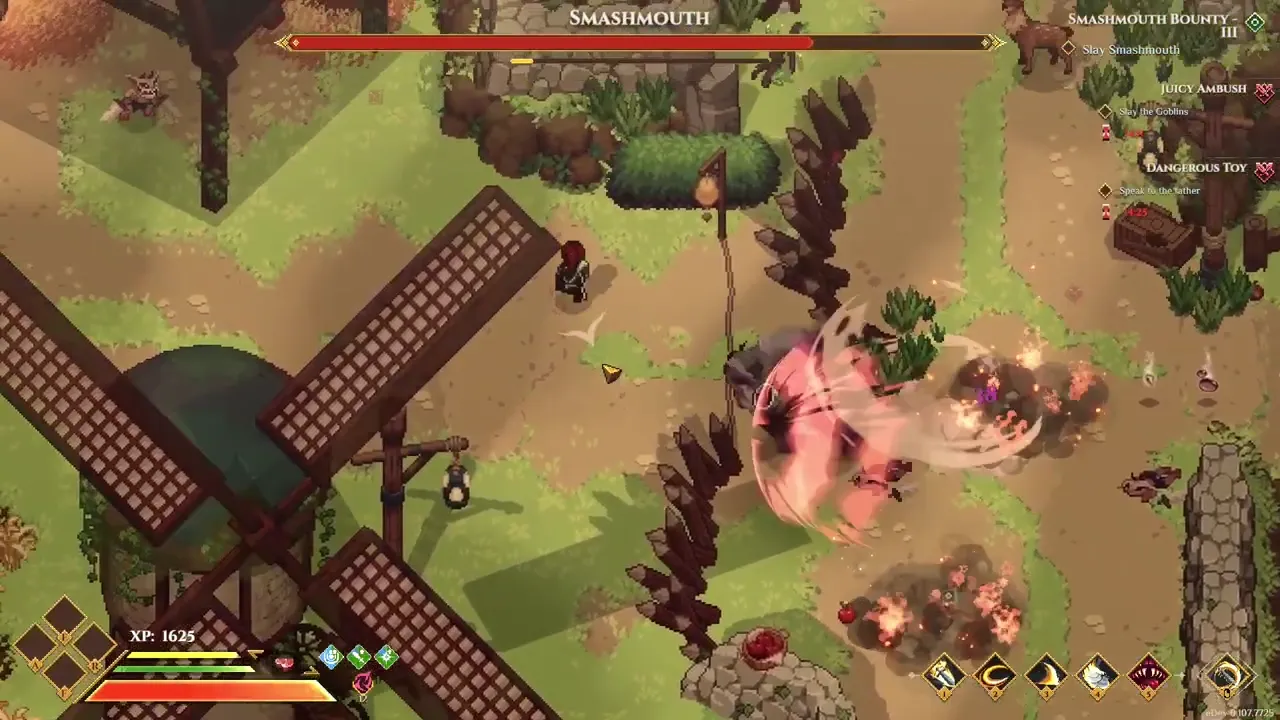
- First up is Smashmouth at 0:08, for the Smashmouth Bounty at level III. 0:08
- The Monstrous Droop fight starts at 1:38. 1:38
 Gotburg The Burned is next, at 3:14. 3:14
 Wildwood Wolf Alpha starts at 4:40. 4:40
- At 7:12 it is the Corrupted Treant. 7:12
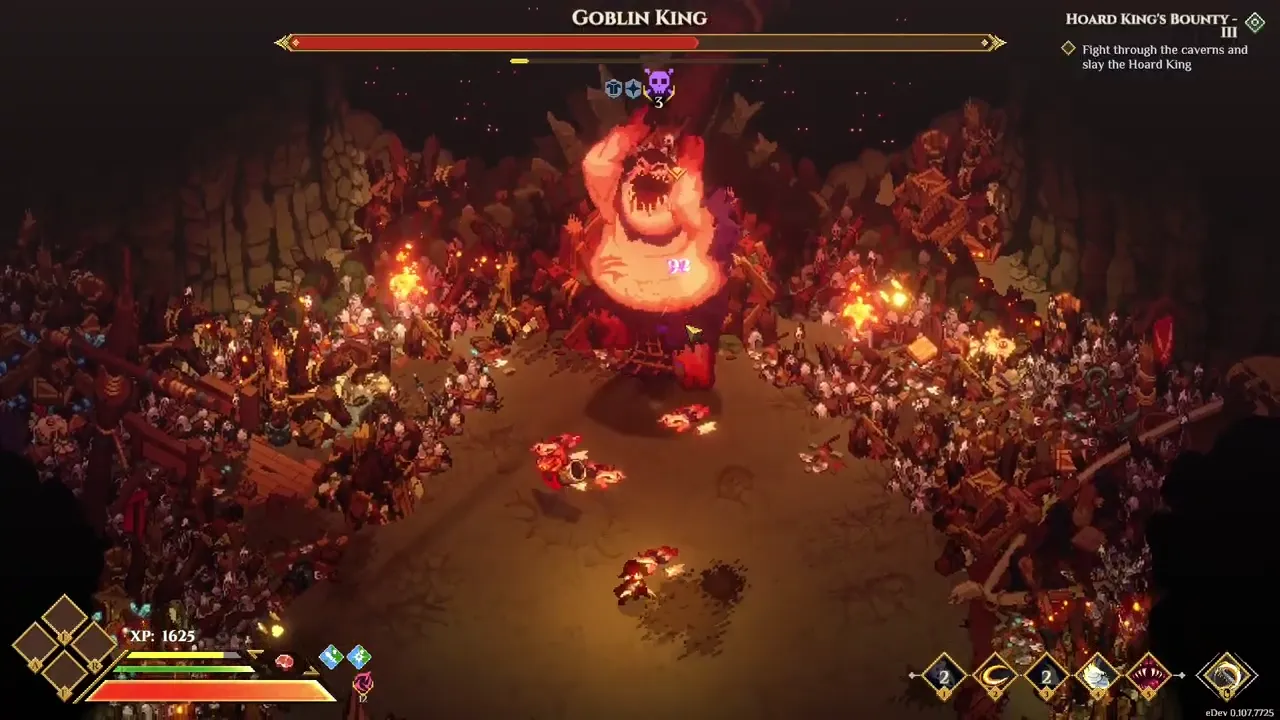
- Goblin King starts at 9:36, for Hoard King's Bounty at level III. 9:36
 Briarheart The Firecursed starts at 12:34, for the Briarheart Bounty at level III. 12:34
- The fight with
 High Priestess Althaea Of The Tirathlan begins at 14:58. 14:58
  Corrupted Monstrous Droop starts at 16:20. 16:20
 Woldroot The Path Guardian follows at 17:42. 17:42
- The last fight is Aelwynor The Wildroot Father at 19:04, for Return to the Forest Throne at level III. The kill shows Legendary Foe Slain. 19:04
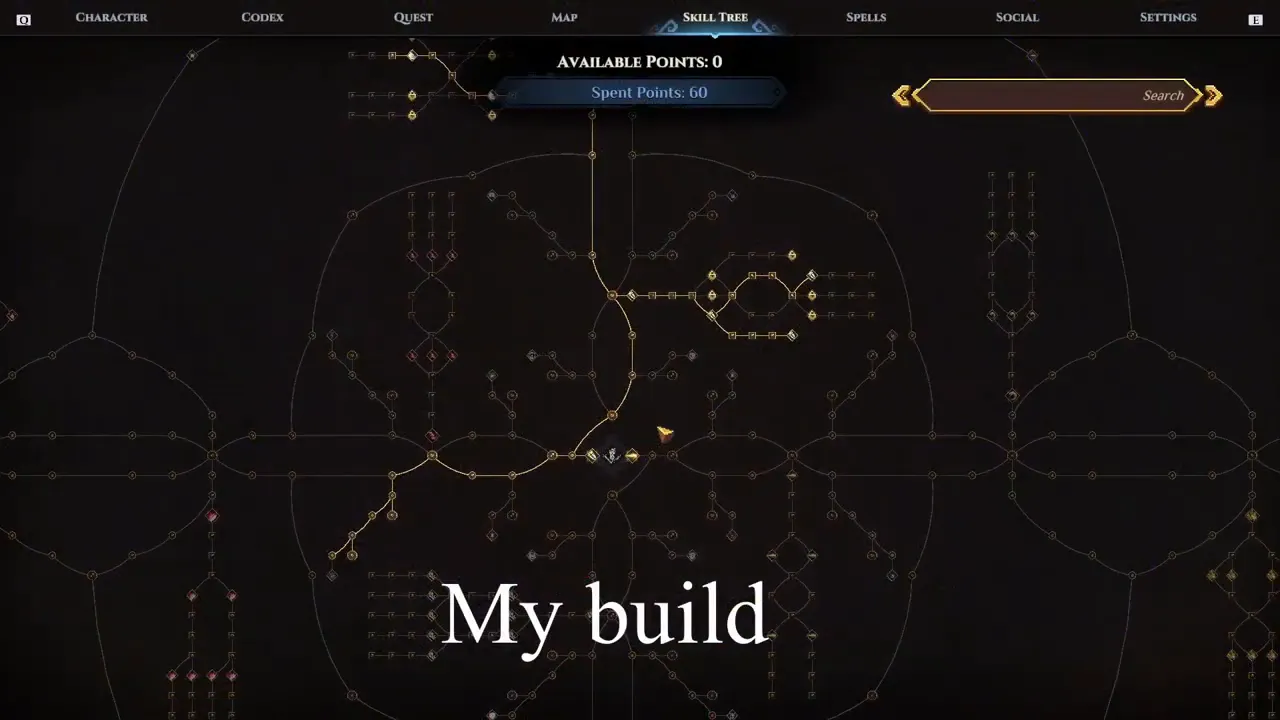
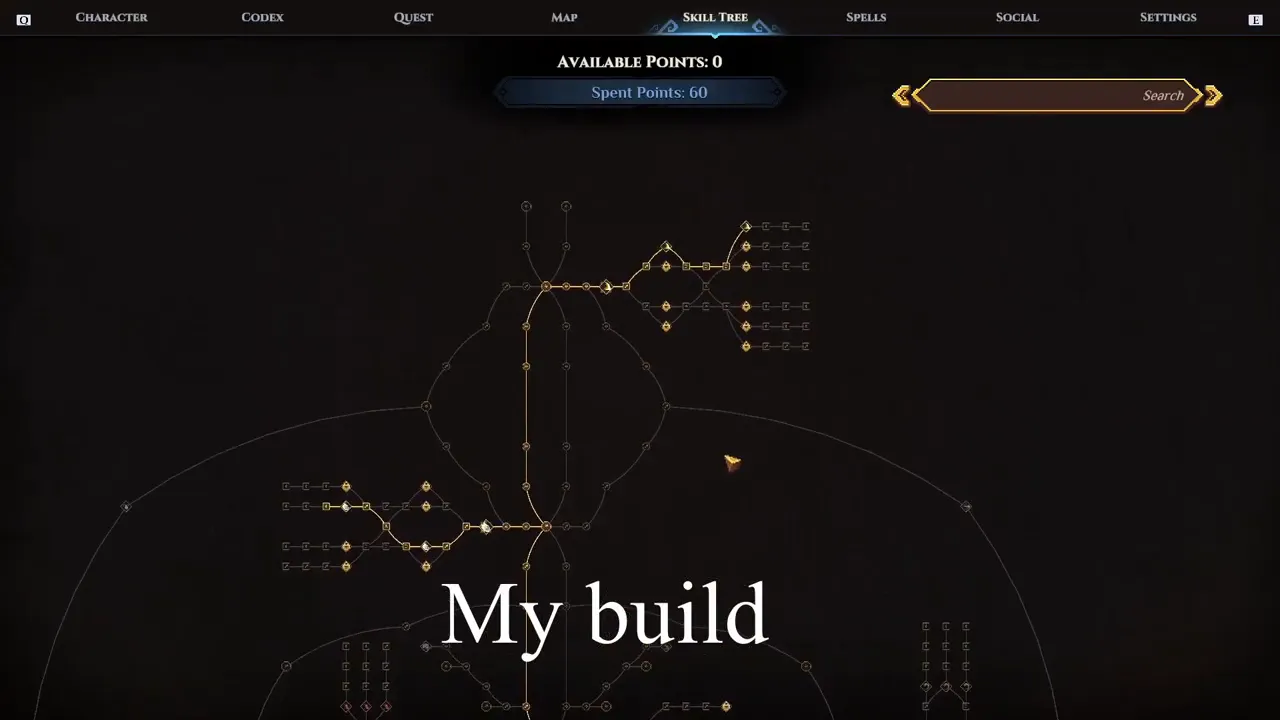
- The last few seconds pan across the skill tree with the caption "My build". All 60 points are spent. 23:36
Screens from the video
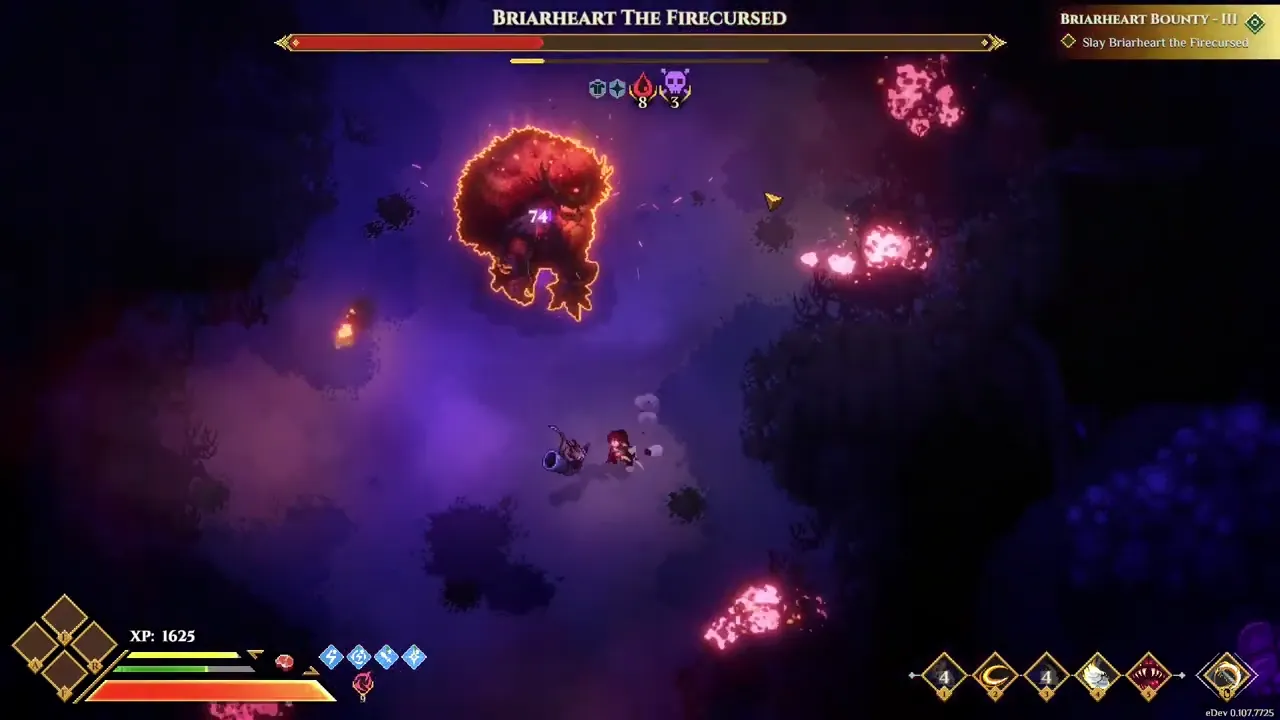 Briarheart The Firecursed for the Briarheart Bounty III. 13:40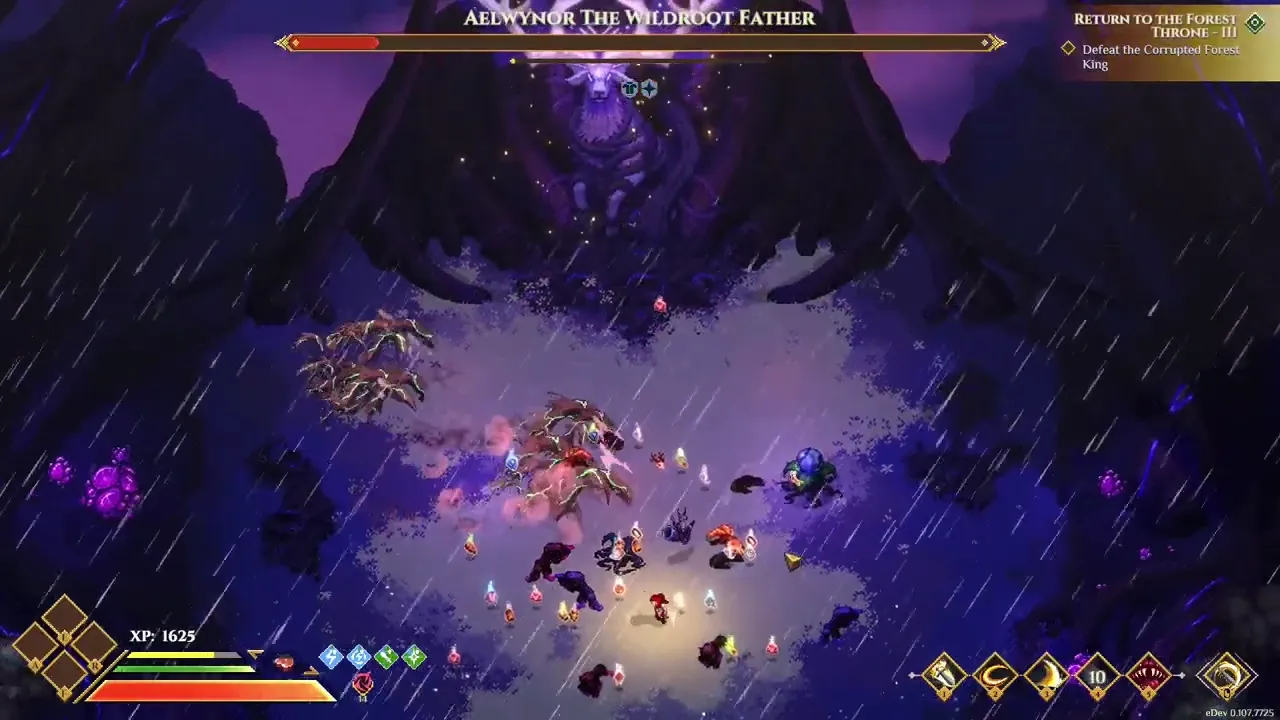
The build
Open this build in our planner
The planner opens with the nodes below already bought.
Skill tree nodes
The video takes these 60 nodes, in this order.
 Health Boost 23:38
 Strike Damage Increase 23:38
 Strike Damage Increase 23:38
 Strike Damage Increase 23:38
 Berserker Blood 23:38
 Critical Damage Increase 23:38
 Critical Damage Increase 23:38
 Critical Damage Increase 23:38
 Critical Strike Chance Increase 23:38
 Critical Strike Chance Increase 23:38
 Critical Strike Chance Increase 23:38
 Critical Strike Chance Increase 23:38
 Stamina Boost 23:38
 Strike Damage Increase 23:38
 Strike Damage Increase 23:38
 Human Endurance 23:38
 Versatile Warrior 23:38
 Weapon Swap Cooldown Reduction I 23:38
 Weapon Swap Cooldown Reduction II 23:38
 Weapon Swap Cooldown Reduction III 23:38
 Hero's Turn 23:38
 Weapon Swap Strike Damage Increase I 23:38
 Weapon Swap Strike Damage Increase II 23:38
 Weapon Swap Strike Damage Increase III 23:38
 Blade Discipline 23:38
 Versatile Warrior Duration Increase I 23:38
 Weapon Swap Cost Reduction I 23:38
 Weapon Swap Cost Reduction II 23:38
 Weapon Swap Cost Reduction III 23:38
 Envenoming Swap 23:38
 Attack Speed Increase 23:38
 Attack Speed Increase 23:38
 Attack Speed Increase 23:42
 Adaptive Swiftness 23:42
 Stun Build-up Increase 23:42
 Stun Build-up Increase 23:42
 Blade Dance 23:42
 Blade Dance Extra Strikes I 23:42
 Blade Dance Extra Strikes II 23:42
 Shredding Dance 23:42
 Blade Dance Cooldown Reduction I 23:42
 Blade Dance Cost Reduction I 23:42
 Blade Dance Damage Increase III 23:42
 Envenoming Dance 23:42
 Envenoming Dance Increase I 23:42
 Physical Piercing 23:42
 Physical Piercing 23:42
 Physical Piercing 23:42
 Physical Piercing 23:42
 Ambidextrous Precision 23:42
 Critical Damage vs. Stunned 23:42
 Critical Damage vs. Stunned 23:42
 Wave Strike 23:42
 Wave Strike Damage Increase I 23:42
 Wave Strike Damage Increase III 23:42
 Returning Wave 23:42
 Wave Strike Cooldown Reduction I 23:42
 Wave Strike Cooldown Reduction II 23:42
 Wave Strike Cooldown Reduction III 23:42
 Rending Wave 23:42
Pet and spell bar
Notes from the video
- The tree screen never names the race or class. The lit nodes match our Human Brawler layout node for node, and they add up to exactly the 60 points shown. 23:38
- 60 points means level 25 with all 12 bonus points from first boss kills, so the planner link uses level 25 and 12 bonus points. 23:38
- On the Brawler side, the build runs the Strike Damage lane to Berserker Blood, then the Critical Damage and Critical Strike Chance nodes below it. 23:38
- On the Human side, it upgrades
 Weapon Swap with Hero's Turn, Blade Discipline and Envenoming Swap, then climbs the Attack Speed lane to Adaptive Swiftness. 23:38
 - Further north it takes
 Blade Dance with Shredding Dance and Envenoming Dance, the Physical Piercing lane to Ambidextrous Precision, and
  Wave Strike with Returning Wave and Rending Wave. 23:42
 - The build also picks up the two Wildstrider Stun Build-up nodes next to Adaptive Swiftness and the two Critical Damage vs. Stunned nodes next to Ambidextrous Precision. 23:42
- The spell bar shows Wave Strike in slot 3 and Blade Dance in slot 4. The wiki matched them by their icons. It could not match the icons in slots 1, 2 and 5. 8:00
Not shown in the video
The video does not show these, so this guide leaves them out.
- Hard mode and no items. The title says so, but no screen shows the difficulty setting.
- Whether Mr.S really takes no hits. This guide did not check every second of the fights.
- Which Monstrous Droop this is. The game has two, and the boss bar gives only the name.
- The attributes and gear. The video never opens a character or inventory screen.
- The spells in slots 1, 2 and 5 of the bar.
Game version
The video went up on 2026-09-22. This wiki shows game build 25546572 (version 0.107.7779).
The version on screen in the video is game build 25427451.
The wiki read 2 game builds after that one. The changelog lists what they changed.
None of the nodes, spells or sets in this guide changed in those builds.